Cut and Sew in 10 Easy Steps
A line of thread or a line that is used to sew a cloth is called stitching and to cut a piece of cloth with a scissor is called cutting. Some stitching is done by hands named as hand stitching while some are hand made embroidery stitching. Cut and sew or cloth-making and stitching all of them are done in several different ways.
Manifold patterns are used to stitch fabric. You can add a pillowcase that improves your own home aesthetic with beautiful pillows. You can sew a fluffy baby blanket and many other home decorating stuff. For stitching purposes, you can make use of a regular old thread and a needle (make sure to sterilized that old needle with hot boiling water) that may reduce the risk of infections.
If you are willing to cut and sew, then for your self-learning there are several sew online lesson classes. These lessons start from the beginning and teach you the basics of how to sew a straight line and how to add buttonholes in a fabric. You can stitch multiple stuff like pocket dresses, fabric keychains, skinny jeans, baby headbands, hugs and kisses pillows, crop top, and black leather clutch. All you need is a sewing machine to stitch your favorite fabric is manifold ways so Let us discover how we can cut and sew fabric step by step this will help you out.
Right Selection of Fabric and Pattern
Selecting the right fabric is a big task. You must keep in mind that the fabric you are selecting can go with your sewing machine or if it is a defected piece or even the fabric threads are coming out from the cloth right selection of fabric is important in that case.
After choosing your favorite fabric try to choose a pattern to cut and sew. The pattern is simply a template in which many parts of garments are traced onto different fabrics before assembling and cutting. This cutting and making pattern is combined with a word known as patternmaking but can also be written as pattern cutting or pattern(-) making.
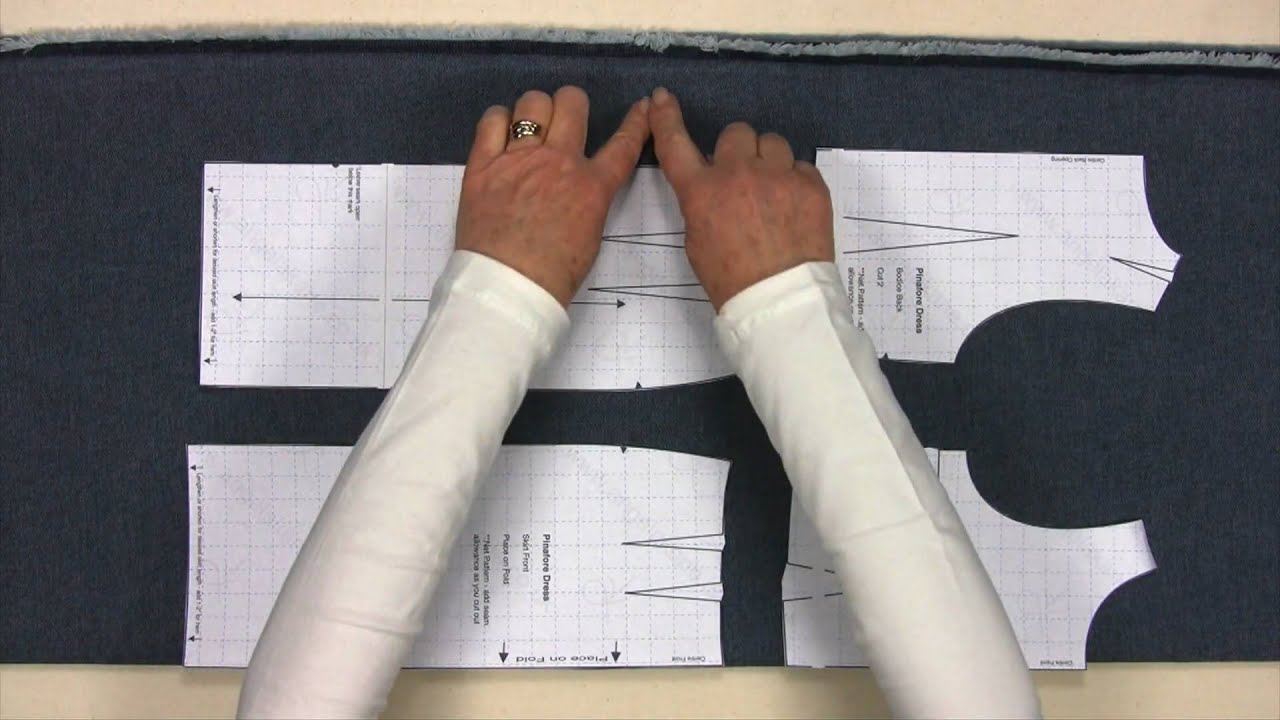
Prepare your desired Pattern
So you have chosen your dress pattern, its time to prepare your pattern. If you have a good quality fabric piece, for a simple shift dress try to add dress back, fresh front, sleeves or armhole facing, back and front neck facing. The unstitched fabric you purchase from a store mostly provided with a pattern design that indicates which piece you choose to fit on the back or at the front. Make sure to iron your pieces of the pattern just to avoid the wrinkles when you attach them on fabric pieces especially when your pattern design contains a tissue paper pattern that is more likely to get wrinkles. When you are done with it now it’s a proper time to move your pattern on your favorite piece of fabric to give it a beautiful look.
Cut and Prepare your Fabric
As you already iron your fabric to avoid wrinkles, layout the fabric on your workspace. Try to follow the cut and sew instructions, you need to fold your fabric in half. Now place those wrinkle-free patterns pieces and grainline or any other piece of cloth on the folded side of the fabric. Make sure to place your pattern with the same orientation as if it is provided on a catalog. Remember the directionality is important when you are preparing your fabric for stitching purposes.
Sew Folds and Marks
Patterns contain darts sometimes. Darts are also called folds. You have observed several darts in customizing made men jeans and even in readymade pants. It provides a good shape to a fabric. Transfer your pattern markings on your fabric that is cut out already. Sew your darts and try to iron it downwards.
Zipper
Proper stitched dresses come out with a beauty that everyone wants to wear it. Remember before sewing the front and back together just put and sew a zipper inside. It will hold back the dress tightly.
Multiple ways zipper can see like leather warrior jackets can be added to your fabric or leather such as you add a centered zipper as I discuss that direction is important if you are cutting and sewing your fabric. You can add an invisible zipper too.
Shoulder Seams
Now your dress back and dress front is ready, sew them at shoulder side. Check the instructions if you are confused about how to stitch them at shoulders. Iron the seams open. You have a v-neckline pattern or a fabric such as double gauze or linen then stay stitch the back neckline and front edges before you sew the seams of shoulders. As a result, your fabric will not stretch out and will keep its proper shape.
Neckline Facing
Adjust the front and back neck facing in such a way that you can accommodate the zipper. Iron the shoulder seams open, to finish it you can turn the underline foldings and stitch them just to gives finishing to edges as it is an important part of the stitching process.
Press and Neck Facing
Iron the neck facing straight so that it does not get flipped towards the dress body. Once you press the facing then understitch it around the corners of the neck edge. Flip that pattern inside of the dress and again iron it to create a smooth finishing touch.
Finishing Backline
To give a proper finished look to the top of a zipper, flip both the facing ends around the top of your selected zipper and now stitch all the layers. On both sides trim the corners diagonally. Hand stitches the edges of the facings where it hits the zipper tape. It will give a finished look.
Hem your Dress
Now after completing the above steps its time to hem your favorite dress. You can stitch the hem using your sewing machine and even you can stitch them with your hand. Hand stitching also gives a mesmerizing look.
Taking Everything into Account
Wearing a well stitched and well-finished dress give you more confidence to walk in society. Proper cutting and sewing cloths give a finished look to your dress. It is necessary to select a fabric that suits your personality and can stitch easily especially in that case if you are using a sewing machine.
Prepare your design pattern for further steps. Systematically cut your fabric, sew folds and marks, add zipper if required. Shoulder seams and neckline facing is important in cutting and sewing because it gives strength in the fabric edges. Never forget to press your clothes before cutting and sewing it will provide a finished look.
Comments